Stove Top Stuffed Chicken Breast (Juicy & Easy)

Stove top stuffed chicken breast is cooked by searing the exterior in a skillet and finishing with a gentle simmer to ensure juicy results. This efficient method saves time and energy while providing a flavorful, restaurant-quality meal at home.
Stove top stuffed chicken breast is a versatile, efficient cooking method that delivers juicy, golden-brown results without the need for preheating an oven. By combining pan-searing and a gentle simmer, you can achieve perfectly cooked poultry and melted fillings in a fraction of the time.
- Preparation: Use uniform chicken breasts and avoid overstuffing to prevent leaking.
- Technique: Sear first for color, then simmer with liquid for even, safe cooking.
- Safety: Always verify an internal temperature of 165°F using a digital thermometer.
- Versatility: Customize fillings with cheeses, vegetables, or local spices to suit your preference.
What is Stove Top Stuffed Chicken Breast?
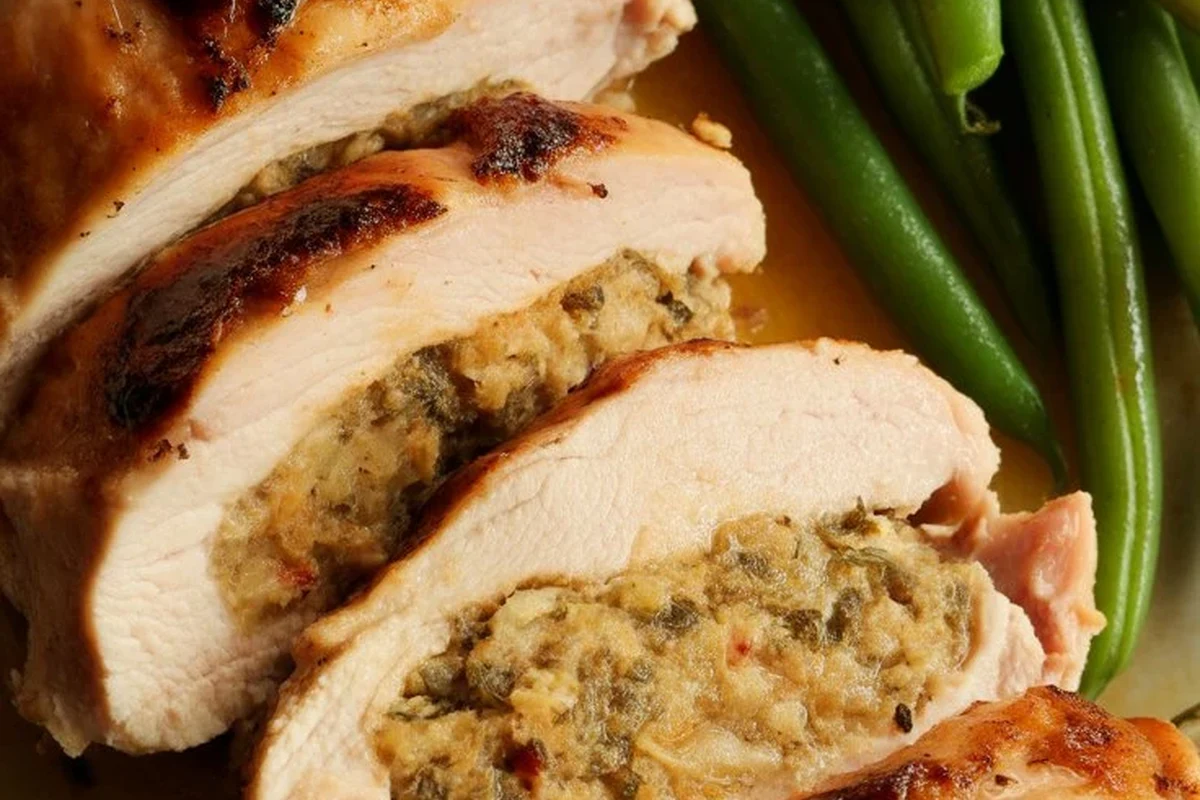
Stove top stuffed chicken breast is a culinary technique where a chicken breast is butterflied or pocketed, filled with ingredients like cheeses, herbs, or vegetables, and cooked entirely in a skillet. Unlike traditional recipes that rely on dry oven heat, this method uses a combination of direct heat for the crust and moisture for the interior. It is an excellent way to elevate a standard weeknight meal into something that feels gourmet while remaining accessible for any skill level.
Whether you are using a modern 30-inch gas stove top in 2026 or a classic range, the principles of heat management remain the same for achieving that perfect sear.
Why Choose the Stove Top Method Over Baking?
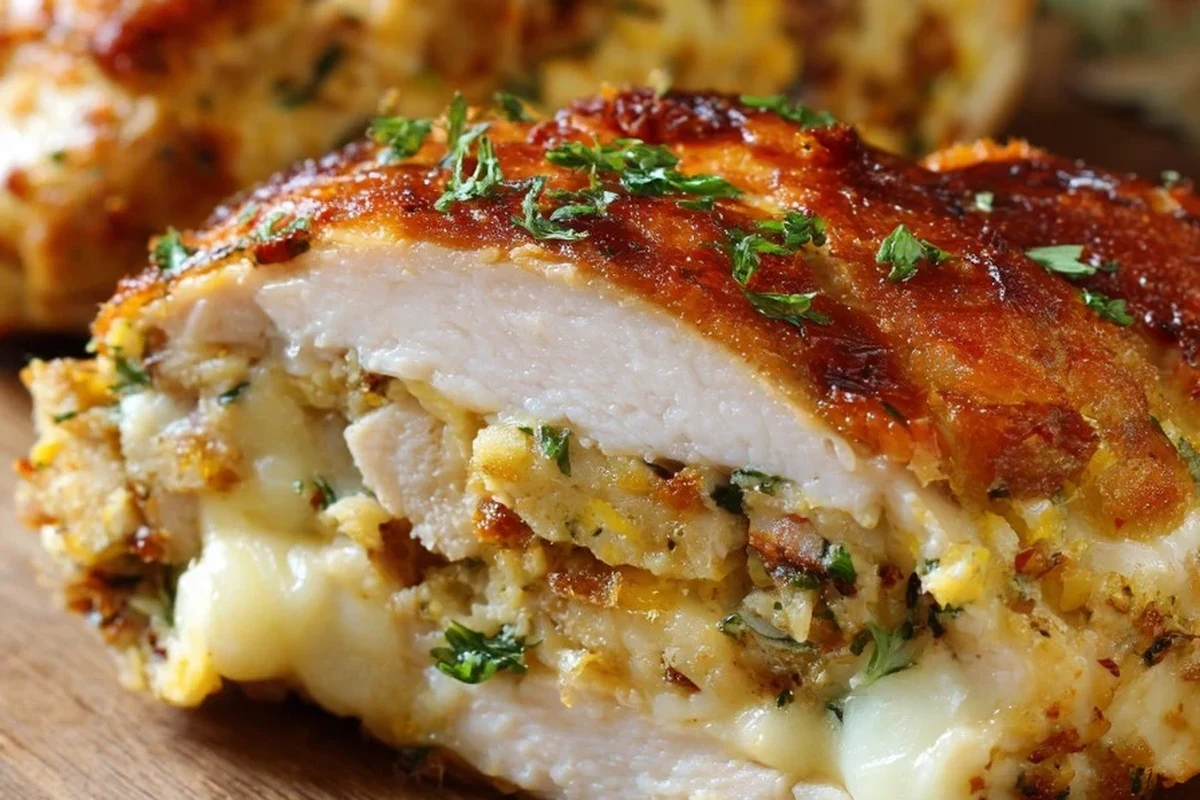
The Benefits of Pan-Searing and Braising
Pan-searing provides a Maillard reaction—the browning process that creates deep, savory flavors—that is difficult to replicate in a standard bake. By searing the exterior first, you lock in the juices. Following this with a brief simmer in a small amount of broth or sauce ensures the chicken stays tender and the filling cooks through without the exterior becoming dry or leathery.
Efficiency for the 2026 Home Cook
In 2026, efficiency in the kitchen is a priority. Stove top cooking eliminates the 15-to-20-minute preheat time required for most ovens. It is also more energy-efficient for smaller meals, preventing you from heating up your entire kitchen, which is especially beneficial during warmer months.
Essential Ingredients and Flavor Profiles
Selecting the Best Chicken Breasts
Uniformity is key. Look for chicken breasts that are similar in thickness. If you have a particularly large piece, consider pounding it slightly to ensure it cooks evenly. Fresh, high-quality poultry is the foundation; ensure the meat is patted completely dry before seasoning to guarantee a crisp sear.
Filling Combinations: From Classic Spinach to Belizean-Inspired Flavors
The filling possibilities are endless. Classic combinations include spinach and ricotta or mozzarella and sun-dried tomatoes. For a local twist, consider incorporating flavors inspired by our Belizean curry chicken recipe, such as a mild curry-spiced cream cheese or sautéed sweet peppers and onions, which bring vibrant color and depth to the dish.
When choosing fillings, ensure your ingredients are not too wet. If using frozen spinach, squeeze it thoroughly in a clean cloth to remove excess moisture before stuffing the chicken.
Mastering the Technique: How to Stuff and Sear
Preparing the Pocket: Knife Skills for Success
Place the chicken breast flat on your cutting board. Using a sharp, thin-bladed knife, slice horizontally into the thickest part of the breast to create a pocket, being careful not to cut all the way through to the other side. A “hinge” on one side keeps the filling contained during the cooking process.
The Sear-and-Simmer Method Explained
Season the exterior and lightly fill the pocket. Secure the opening with one or two toothpicks if necessary.
Heat oil in a skillet over medium-high heat. Place the chicken in the pan and sear undisturbed for 3-4 minutes per side until golden brown.
Lower the heat, add a splash of chicken broth or white wine, and cover the pan. Simmer for 6-8 minutes until the center is cooked through.
Common Mistakes and How to Avoid Them
Preventing Filling Leakage
Overstuffing is the most common cause of leakage. Use only 1-2 tablespoons of filling per breast. If the gap remains wide, a simple toothpick inserted through the opening can act as a stitch to hold the edges together while it sears.
Achieving Even Doneness Without Drying the Meat
If the chicken is too thick, the outside will burn before the inside reaches a safe temperature. If you don’t want to pound the chicken, consider a slower, lower-heat approach after the initial sear to allow the heat to penetrate the center gently.
Food Safety: Internal Temperatures and Handling
According to food safety standards, all poultry must reach an internal temperature of 165°F (74°C) to be considered safe for consumption. Always use a digital meat thermometer inserted into the thickest part of the meat, avoiding the filling, for an accurate reading.
Safe Storage and Reheating Guidelines
Leftovers should be cooled and placed in an airtight container within two hours of cooking. They can be safely stored in the refrigerator for up to 3-4 days. When reheating, ensure the chicken reaches an internal temperature of 165°F again.
Troubleshooting Your Stuffed Chicken
Fixing Undercooked Centers and Overcooked Exteriors
If you find the exterior is browning too quickly, reduce your heat immediately and add a little more liquid to the pan to create a steaming effect. This helps cook the interior without adding more color to the crust.
Adjusting for Different Breast Sizes and Thicknesses
Large breasts may require an extra minute of simmering, while very thin cutlets will cook much faster. If you are preparing a meal similar to our Zoe’s Kitchen chicken roll-ups, keep in mind that rolled chicken often cooks faster than traditional pocket-stuffed breasts due to the surface area.
Final Verdict: Is Stove Top Stuffed Chicken Right for Your Kitchen?
Stove top stuffed chicken is an ideal method for home cooks looking to save time and energy without sacrificing flavor. It offers the perfect balance of a crispy exterior and a moist, flavorful center. While it requires a bit of attention to ensure the filling stays in place, the results are consistently rewarding and far faster than traditional oven-baked alternatives.
Common Questions
Reduce the heat to medium or medium-low once the initial sear is complete to allow the inside to cook through gently.
Keep the lid off during the initial sear to ensure a crisp crust, then add it during the simmering phase to lock in moisture.
Toothpicks are optional but highly recommended for beginners to ensure the filling stays inside during the flipping process.
Use a high-smoke-point oil like avocado, canola, or grapeseed oil to prevent the oil from burning during the searing stage.
The only reliable method is using a digital meat thermometer to ensure the thickest part of the meat reaches 165°F.
Frequently Asked Questions
Avoid overstuffing the breast; use only 1-2 tablespoons of filling. You can also use toothpicks to secure the opening before you start searing.
The chicken must reach an internal temperature of 165°F (74°C). Always check the thickest part of the meat with a digital thermometer.
It is best to use fully thawed chicken. Frozen chicken will release too much water, preventing a good sear and potentially causing the filling to spill.
Store leftovers in an airtight container in the refrigerator for 3-4 days. Reheat until it reaches 165°F internally.
A cast iron skillet is excellent for achieving a deep, golden-brown crust. A non-stick pan is easier for beginners to manage to prevent sticking.
Hard cheeses, sautéed mushrooms, cooked bacon, and dry herbs work best. Avoid ingredients that are high in water content unless they are pre-cooked and drained.