How to Broil Chicken in the Oven: Complete Guide (2026)

Broiling is a high-heat cooking technique that uses the direct, intense radiant heat of your oven’s top element to sear and cook chicken quickly. Mastering this method allows you to achieve a restaurant-quality char and juicy interior without needing an outdoor grill, making it a reliable solution for weeknight meals in 2026.
- Preparation: Use uniform, thin pieces of chicken for even cooking.
- Heat Control: Keep the chicken 4–6 inches from the heating element.
- Safety First: Always verify an internal temperature of 165°F (74°C).
- Sugar Awareness: Apply glazes only in the final minutes to prevent burning.
What is Broiling and Why Choose It for Chicken?
The Science of Radiant Heat
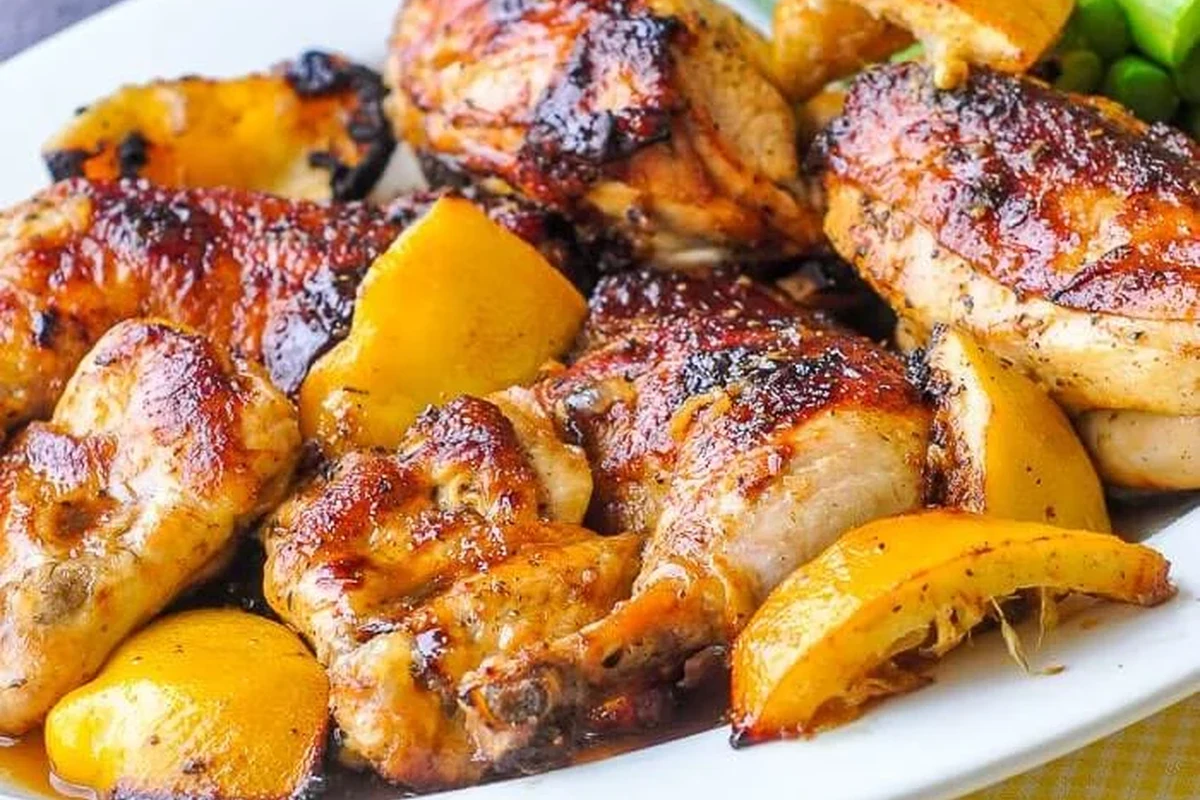
Unlike baking, which relies on ambient hot air to cook food slowly, broiling functions like an upside-down grill. The broiler element—located at the top of your oven—emits intense infrared radiation. This energy strikes the surface of the chicken, causing rapid browning and caramelization of proteins and sugars. Because the heat is so concentrated, it cooks the surface much faster than the center, which is why distance and timing are critical to success.
Benefits of the Broiling Technique in a Modern Kitchen
Broiling is an excellent choice for home cooks who want to achieve charred, smoky results quickly. While some prefer the convenience of air fryer chicken thighs for their ease of cleanup, broiling offers a distinct flavor profile that mimics open-flame cooking. It is particularly effective for recipes that benefit from a crisp skin or a caramelized glaze, providing a textured finish that is difficult to replicate with standard baking.
Selecting the Best Chicken Cuts for the Broiler
Choosing Between Bone-In and Boneless Options
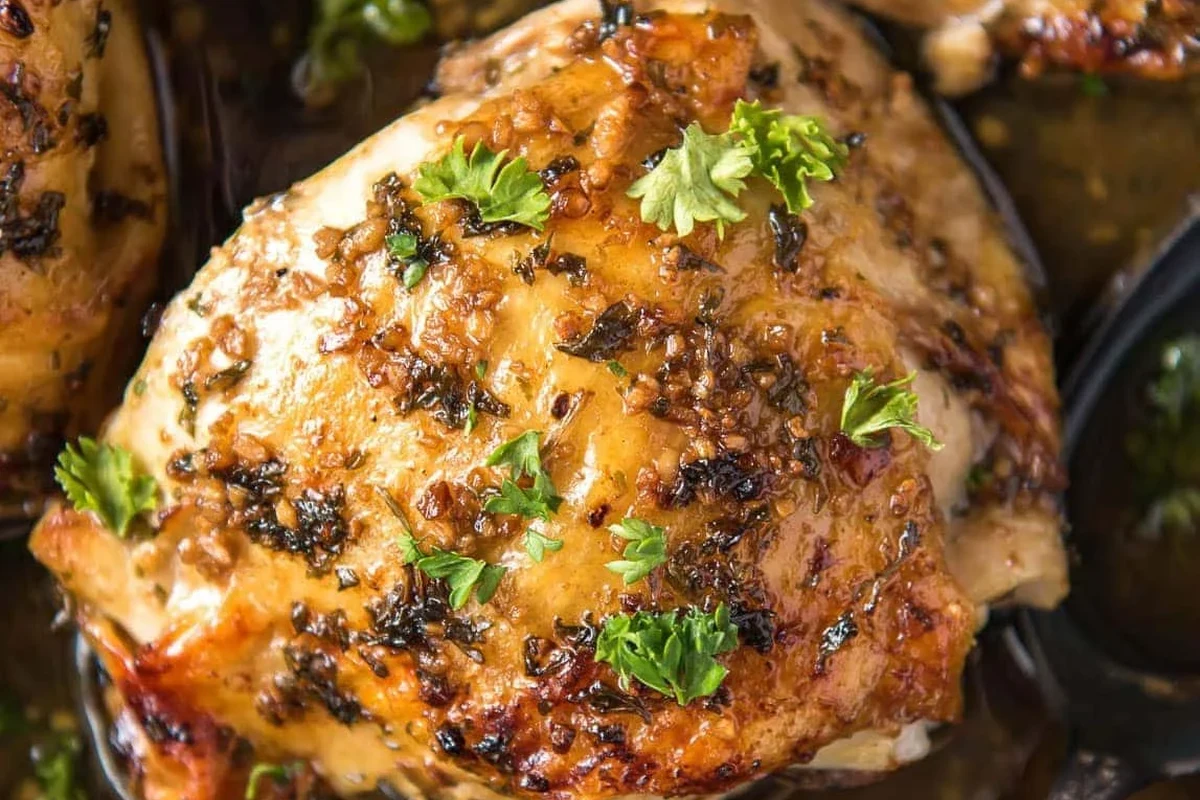
Boneless, skinless chicken breasts or thin-sliced cutlets are ideal for broiling because they cook through before the surface becomes too dark. Bone-in cuts, such as drumsticks or split breasts, take longer to cook through, which increases the risk of the exterior burning before the meat reaches a safe internal temperature. If you prefer bone-in pieces, consider partially cooking them in the oven on a bake setting first, then finishing them under the broiler for the final color.
The Importance of Uniformity and Thickness
Because broiling is an aggressive, high-heat method, uniformity is your best friend. Use a meat mallet to pound thicker breasts to an even thickness. If your pieces are uneven, the thin edges will dry out or char excessively before the thicker sections are safe to eat. Aim for pieces that are roughly 3/4-inch to 1-inch thick for the most consistent results.
Essential Ingredients and Flavor Profiles
The Role of Marinades vs. Dry Rubs
Marinades add moisture and flavor but require care when broiling. Because the heat is so intense, sugar-heavy marinades can burn within seconds. If you use a liquid marinade, pat the chicken dry before placing it in the oven, or apply a glaze only during the final 2–3 minutes of cooking. Dry rubs are often more forgiving and help create a beautiful, savory crust without the risk of rapid charring associated with wet sugars.
Balancing Sugar Content to Prevent Burning
When preparing a Belizean BBQ chicken recipe, the natural sugars in your sauce will react quickly to the broiler. To avoid bitterness, keep the heat source at a slightly greater distance if you are using a sweet, sticky sauce, and monitor the oven constantly. Never leave the kitchen while the broiler is active, as the transition from “perfectly charred” to “burnt” happens in an instant.
Step-by-Step: How to Broil Chicken Like a Pro
A meat thermometer takes the guesswork out of broiling — see top-rated instant-read thermometers here.
Common Mistakes and How to Avoid Them
Managing Flare-ups and Smoke
High heat can cause fat to drip onto the pan and smoke. To minimize this, trim excess fat from the chicken before seasoning. If you notice significant smoking, your broiler may be too close to the meat, or your pan may be too dirty. Always ensure your kitchen is well-ventilated.
Preventing Dry or Overcooked Poultry
The biggest danger in broiling is overcooking the interior while waiting for the exterior to brown. If the chicken is browning too fast, move the rack down one level. If the chicken is cooked through but lacks color, move it closer to the heat for a final “flash” sear of 60 seconds.
Safety, Storage, and Reheating Best Practices
Proper Storage for Leftover Broiled Chicken
Store leftover chicken in an airtight container in the refrigerator for up to 3–4 days. If you have a large batch, you can freeze it for up to 3 months, though the texture may change slightly upon thawing.
Reviving Texture: How to Reheat Without Drying Out
To keep your chicken moist, reheat it gently. A splash of chicken broth or water in a skillet over low heat works wonders, or you can use a microwave at 50% power. Avoid using the broiler again for reheating, as it will likely dry out the fibers and ruin the texture.
Expert Tips for Belizean-Inspired Broiled Chicken
Incorporating Citrus and Local Spices
For a tropical flair, incorporate lime juice and local aromatics like habanero or recado into your seasoning. Since citrus can acidify the meat, keep marination times to under 30 minutes to prevent the texture from becoming mushy. If you are looking for more inspiration, explore our Belizean curry chicken recipe for ideas on how to balance bold spices with poultry.
Creating the Perfect Glaze for a Tropical Finish
Use a glaze based on honey, mango, or pineapple juice during the final moments of broiling. The natural sugars will caramelize under the intense heat, creating a sticky, vibrant crust that captures the essence of Caribbean-inspired cooking.
Final Recommendations for Consistent Results
Broiling is a fast, effective technique that rewards attention to detail. By selecting uniform cuts, monitoring the distance from the heat source, and using a meat thermometer to ensure a safe internal temperature of 165°F, you can achieve professional results every time. Keep your seasoning simple, watch for flare-ups, and prioritize safety to enjoy perfectly broiled chicken in your kitchen.
.
Broiling chicken breast specifically? See how to broil chicken breast in the oven.
Common Questions
Start with intended use, fit, verified specifications, safety instructions, care needs, and important limitations.
Frequently Asked Questions
Broiling typically takes 5 to 8 minutes per side for boneless cuts. The exact time depends on the thickness of the chicken and the distance from the heat source.
Yes, flipping the chicken halfway through ensures even cooking and uniform browning on both sides. This is especially important for thicker pieces of meat.
It is not recommended to broil frozen chicken. The exterior will burn long before the interior reaches a safe temperature; always thaw chicken completely first.
The top or second-to-top rack is usually best, keeping the meat 4 to 6 inches away from the broiler element. Adjust based on how quickly your specific oven browns.
Use a meat thermometer to ensure the thickest part of the chicken reaches an internal temperature of 165°F (74°C). The juices should run clear.
Smoke is usually caused by fat or sugar dripping onto a hot pan. Trim excess fat, use a drip pan, and keep the oven clean to reduce smoke production.