Boil Chicken Tenders

Boiling chicken tenders is a gentle, efficient method that produces moist, shredded-ready meat in under 10 minutes. It is an ideal technique for preparing lean protein for soups, salads, and quick mid-week meals.
Boiling chicken tenders is a straightforward, highly efficient culinary technique that yields tender, neutral-flavored meat perfect for a variety of dishes. Whether you are looking to streamline your weekly meal prep or need a quick base for soups and salads, understanding how to poach these delicate strips ensures consistent results in any home kitchen.
- Gentle Heat: Maintain a low simmer to prevent the tenders from becoming tough or rubbery.
- Flavor Infusion: Use chicken stock instead of water and add aromatics to boost the taste.
- Safety First: Always verify that the internal temperature has reached 165°F using a thermometer.
- Meal Prep: Boiled tenders store well in the fridge for up to 4 days, making them.
Can You Boil Chicken Tenders? The Quick Answer
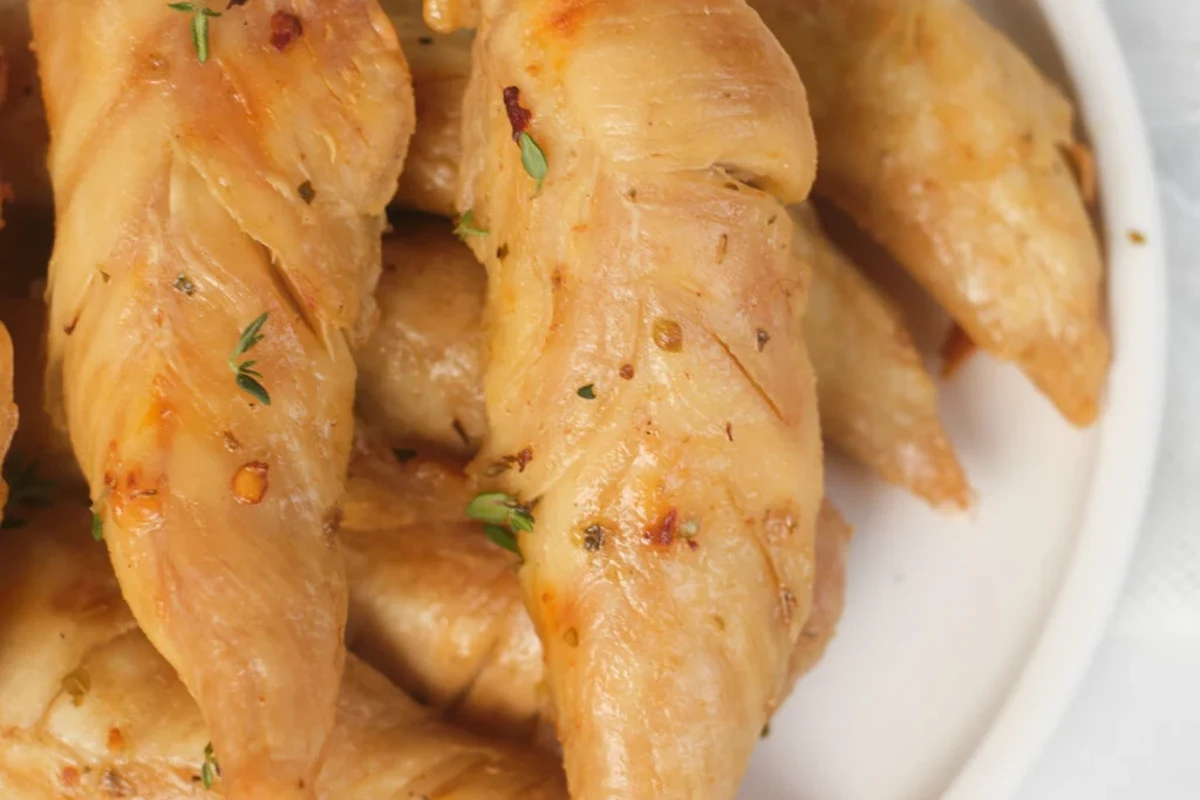
Yes, you can absolutely boil chicken tenders. While often associated with frying, boiling or poaching them is an excellent way to cook them gently, resulting in moist, lean protein that shreds easily for later use.
What Are Chicken Tenders and Why Boil Them?
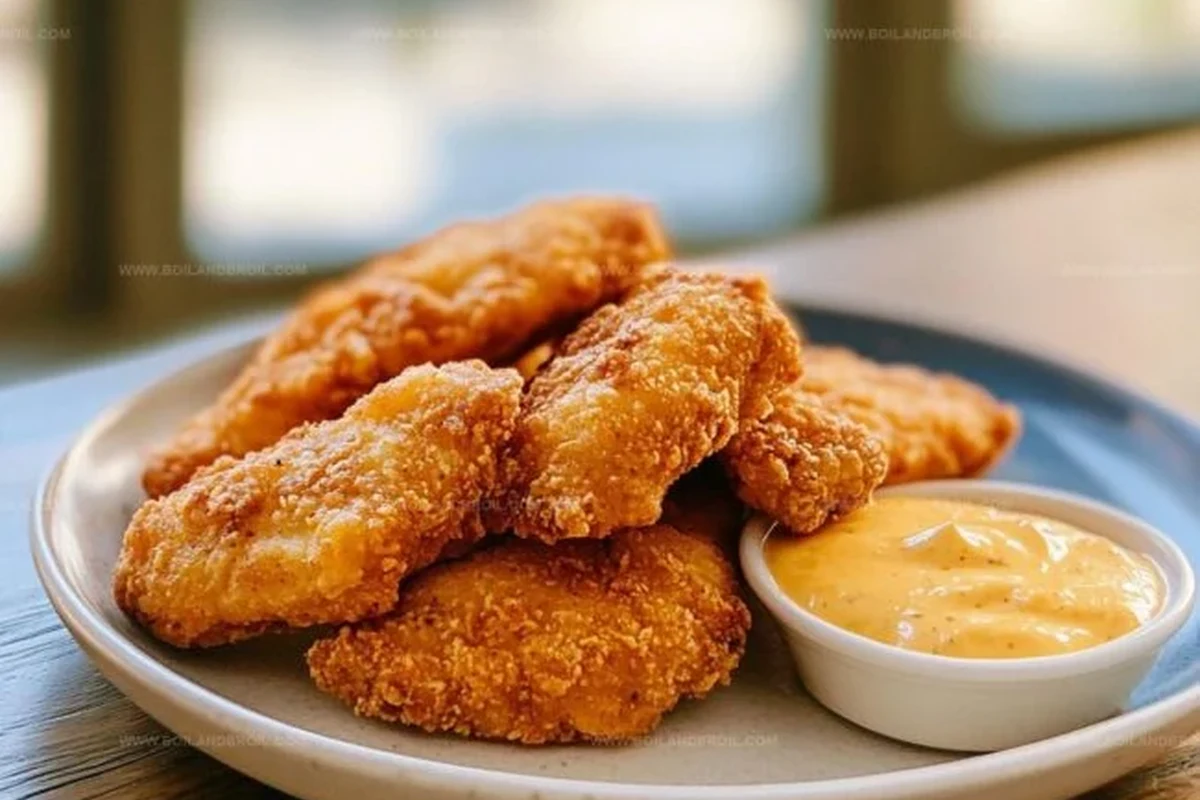
Chicken tenders, or tenderloins, are the small, narrow strips of meat found on the underside of a chicken breast. Because they are a smaller, thinner cut of poultry, they possess a naturally soft texture that is distinct from the thicker breast meat.
The Profile of a Tenderloin
The tenderloin is prized for its lack of connective tissue and fat, making it incredibly lean. In a culinary setting, this means it cooks much faster than other cuts. However, because it lacks fat, it can dry out quickly if exposed to high, direct heat for too long, which is why gentle cooking methods are often preferred.
Boiling vs. Other Cooking Methods: A Culinary Perspective
Unlike pan-searing or air-frying—methods that rely on dry heat to create a crispy exterior—boiling is a moist-heat method. It creates a subtle, clean flavor profile. While you won’t get a golden-brown crust, you gain a versatile ingredient that absorbs the flavors of whatever sauce or broth you eventually pair it with.
In many traditional recipes, such as our Zupas Chicken Noodle Soup recipe, starting with poached or boiled chicken is the secret to getting the perfect shredded texture that melds seamlessly with the broth.
Why Boil? Real-Kitchen Benefits for Busy Cooks
Efficiency and Meal Prep Utility
For the busy home cook in 2026, time is often the most valuable resource. Boiling a batch of tenders takes roughly 8 to 10 minutes, making it one of the fastest ways to prepare protein for the entire week. Once boiled, the chicken can be stored in the refrigerator and used for quick lunches, school snacks, or emergency dinners.
Texture and Moisture Control for Specific Recipes
Boiling allows for precise control over the internal temperature. By keeping the liquid at a gentle simmer rather than a rolling boil, you ensure the muscle fibers remain relaxed and moist. This is particularly useful when you need the meat to be soft enough to incorporate into a delicate Zoes Kitchen chicken salad recipe, where texture is paramount.
The Essential Guide: How to Boil Chicken Tenders Properly
Tongs
Meat Thermometer
Strainer
Step-by-Step Boiling Technique
Achieving the Perfect Poach: Temperature Control
The key to success is the “poach.” If you see large bubbles breaking the surface, lower the heat. You want small, slow bubbles. This gentle environment keeps the chicken from becoming rubbery or stringy.
Safety First: Handling and Internal Doneness
Always follow USDA food safety guidelines. Raw chicken must be handled with care to prevent the spread of bacteria. Wash hands, surfaces, and utensils thoroughly after they come into contact with raw poultry.
Preventing Cross-Contamination
Never place cooked chicken back onto the same plate or cutting board that held the raw tenders. Keep your prep area organized to ensure that raw juices do not touch your finished meal or other ingredients.
The 165°F Rule
Regardless of the cooking method, the USDA recommends cooking all poultry to an internal temperature of 165°F (74°C). Use a digital meat thermometer inserted into the thickest part of the tender to confirm safety.
Common Mistakes to Avoid When Boiling Chicken
The Overcooking Trap
Because tenders are small, they cross the line from “perfectly cooked” to “rubbery” in a matter of seconds. Set a timer and check the temperature early—starting at the 7-minute mark is a safe practice.
Seasoning Pitfalls
Boiling in plain water results in bland chicken. Always salt your poaching liquid, or better yet, use a flavorful stock. You can also add peppercorns, lemon slices, or fresh herbs to infuse the meat with flavor during the cooking process.
Versatile Uses: What to Do With Boiled Chicken Tenders
The Ideal Base for Shredded Salads and Wraps
Boiled tenders are the gold standard for shredded chicken recipes. Once cooled, use two forks to pull the meat apart. This creates the perfect texture for a Zupas chicken enchilada soup recipe or a quick wrap.
Incorporating Boiled Tenders into Soups and Stews
Because the chicken is already cooked, add it to your soups during the last few minutes of simmering. This warms the meat through without overcooking it, keeping it succulent and tender.
- Boil gently to maintain moisture.
- Always reach 165°F for food safety.
- Use seasoned stock for better flavor.
- Shred immediately after cooling for best results.
Storage, Shelf Life, and Reheating Best Practices
Proper storage is essential for food quality. Once the chicken has cooled to room temperature (do not leave it out for more than two hours), store it in an airtight container in the refrigerator. It will typically remain at peak quality for 3 to 4 days.
How to Reheat Without Drying Out
To reheat, add a splash of water, broth, or sauce to the container. This creates steam that prevents the meat from drying out in the microwave. Reheat only until warmed through, as excessive heat will ruin the texture.
Verdict: Is Boiling Your Best Option?
Boiling chicken tenders is a highly effective, low-effort method for meal preppers and home cooks who prioritize efficiency and texture. While it lacks the flavor complexity of roasting or grilling, its versatility as a base for soups, salads, and shredded chicken dishes makes it a staple technique. If you are looking for a quick way to prepare lean protein safely and reliably, boiling is an excellent choice for your kitchen repertoire in 2026.
Common Questions
They typically take 8 to 10 minutes in a gentle simmer. Always check for a 165°F internal temperature.
It is safer to thaw them completely before boiling to ensure even cooking and safety. Boiling from frozen can lead to an uneven, rubbery exterior while the inside remains undercooked.
Yes, seasoning the poaching liquid with salt, herbs, or aromatics significantly improves the flavor of the chicken. Plain water will result in very bland meat.
The chicken is done when it reaches an internal temperature of 165°F. The meat should be opaque throughout with no pink remaining.
Using two forks to pull the meat apart while it is still warm is the easiest and most effective method. Shredding once cooled can be slightly more difficult.
Frequently Asked Questions
Chicken tenders typically take 8 to 10 minutes to boil in a gentle simmer. Always check the internal temperature to ensure they reach 165°F.
Using chicken stock or broth adds much more flavor to the meat than plain water. You can also add herbs, garlic, or onion to the liquid for extra depth.
Keep the water at a gentle simmer rather than a rolling boil. Overcooking is the main cause of rubbery texture, so monitor the internal temperature closely.
Yes, store them in an airtight container for 3 to 4 days. Allow them to cool before refrigerating to maintain quality.
Use a digital meat thermometer to ensure the thickest part of the tender reaches an internal temperature of 165°F. This is the only reliable way to verify safety.
Boiling is a lean cooking method that requires no added fats or oils. It is a nutritious way to prepare protein for various meals.