Grilled Chicken on Grill Pan

To grill chicken on a grill pan, preheat the pan until very hot and pat the chicken dry before cooking to ensure a deep sear. Always use a meat thermometer to confirm the internal temperature reaches 165°F for safe, juicy results.
Achieving the smoky, charred appeal of outdoor cooking doesn’t require a backyard. Mastering grilled chicken on a grill pan allows you to replicate those iconic sear marks and intense flavors right on your stovetop, regardless of the season.
- Preheat properly: A hot pan is the only way to achieve professional-looking char marks.
- Moisture control: Always pat chicken dry with paper towels to prevent steaming.
- Safe temperature: Use a meat thermometer to ensure the chicken hits 165°F.
- Natural release: Don’t force the chicken; let it sear until it releases from the ridges on.
The Secret to Perfect Grilled Chicken on a Grill Pan: An Overview
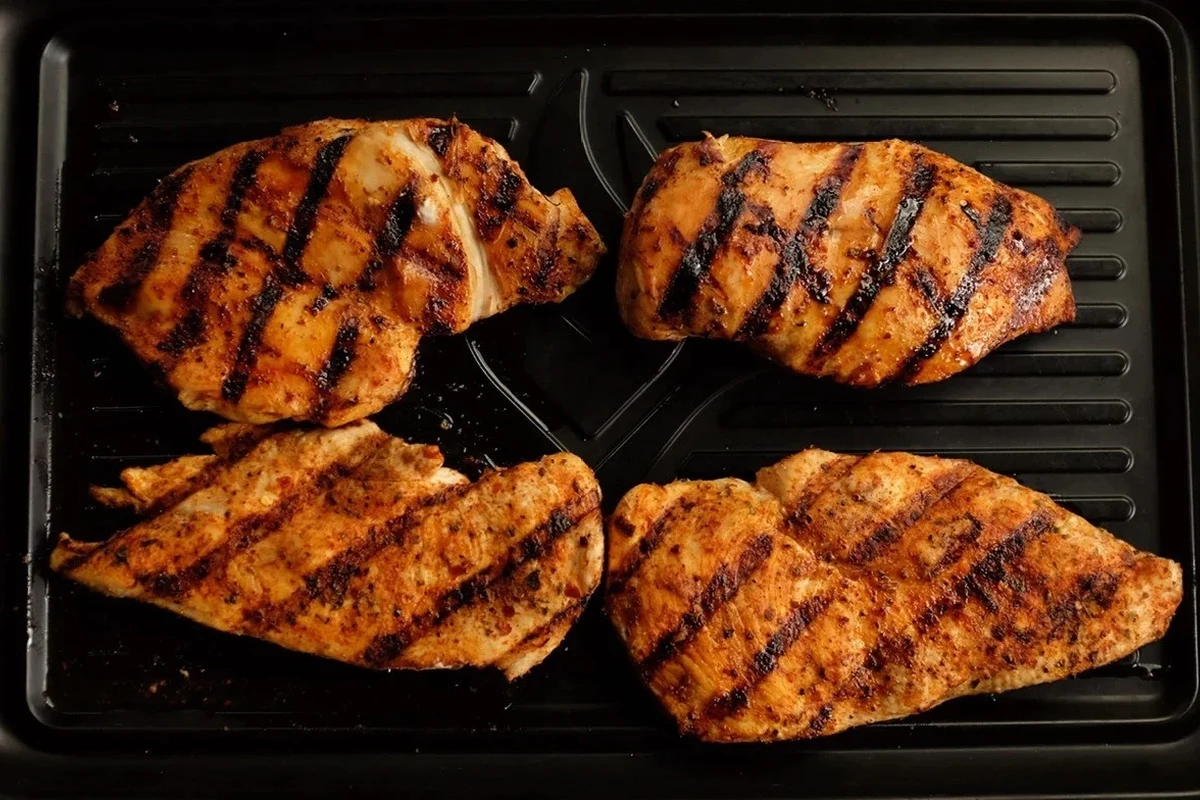
A grill pan is a specialized piece of cookware designed with raised ridges that mimic the grate of an outdoor barbecue. By elevating the meat, these ridges allow fat to render away while creating localized, high-heat contact points that produce distinct char marks. Unlike a flat skillet, which cooks by conduction across the entire surface, a grill pan relies on a combination of direct searing and radiant heat trapped between the ridges.
Why Use a Grill Pan for Your Chicken?
The primary benefit of a grill pan is flavor development through the Maillard reaction—the chemical process that creates browned, savory crusts on meat. Because the chicken sits above the pan’s base, it isn’t “stewing” in its own juices, which helps keep the exterior crisp. It is a fantastic alternative for those who don’t have access to an outdoor grill or want to avoid the hassle of managing charcoal or propane.
The 2026 Standard: Achieving Outdoor Flavor Indoors
As we navigate the culinary trends of 2026, the focus in home kitchens has shifted toward efficiency without sacrificing quality. Modern grill pans have evolved, often featuring superior non-stick coatings or highly seasoned cast iron surfaces that handle high heat with ease. Achieving that “outdoor” taste indoors is now largely about moisture control and proper heat management, ensuring the chicken doesn’t dry out before the marks appear.
Essential Ingredients for Belizean-Style Grilled Chicken
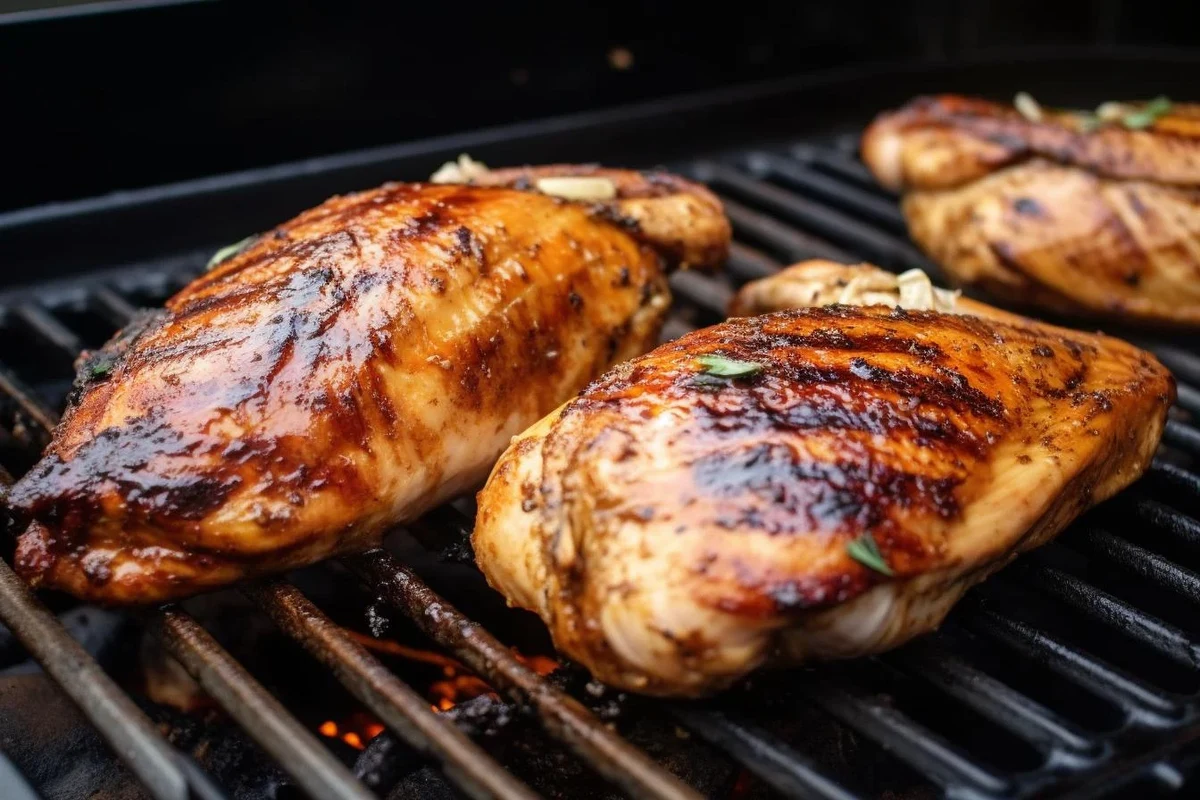
To capture the vibrant spirit of Caribbean cooking, your marinade is your most important tool. A classic Belizean BBQ chicken recipe relies on a balance of citrus, heat, and aromatics to tenderize the meat and provide a deep, complex flavor profile.
- Chicken (breast or thighs)
- Fresh lime or sour orange juice
- Recado (achiote paste) or paprika/cumin blend
- Garlic, onion, and habanero (optional)
- High-smoke-point oil (grapeseed, avocado, or refined coconut)
Selecting the Best Cuts: Breast vs. Thighs
Choosing the right cut is a matter of preference. Chicken breast is leaner and faster to cook, making it an excellent choice for a quick weeknight meal. However, chicken thighs contain more connective tissue and intramuscular fat, which makes them much more forgiving on a grill pan and significantly more succulent. If you enjoy the versatility of different cooking methods, you might also compare this to air fryer chicken thighs to see which texture you prefer.
The Marinade: Balancing Citrus, Spice, and Aromatics
The acidity in citrus juice, particularly lime, acts as a tenderizer. When combined with savory spices like achiote or cumin, it creates a “bark” on the chicken that caramelizes beautifully. Aim to marinate for at least 30 minutes, though two to four hours in the refrigerator will yield deeper penetration of flavor.
The Role of Oil and Seasoning in Achieving the Perfect Sear
Never rely on the marinade alone to prevent sticking. Lightly oiling the chicken itself—rather than the pan—is the secret to preventing the protein from bonding to the ridges. Use an oil with a high smoke point to ensure it doesn’t burn and turn bitter before the chicken is cooked through.
Mastering the Technique: How to Grill Chicken on a Grill Pan
Place your grill pan over medium-high heat for at least 5 minutes. A cold pan will cause the meat to stick and steam rather than sear.
Always pat the chicken dry with paper towels after removing it from the marinade. Excess moisture creates steam, which prevents those dark, crisp grill marks.
Lay the chicken pieces diagonally across the ridges. Let them cook undisturbed for 3–4 minutes to develop the char.
Achieving Those Iconic Grill Marks Without Overcooking
The key to perfect marks is patience. If you try to flip the chicken too early, it will stick. Wait for the natural release—the point where the proteins have seared enough to let go of the metal. For a cross-hatch pattern, rotate the chicken 45 degrees halfway through the cooking time on the first side.
Critical Food Safety and Doneness Cues
According to food safety guidelines, chicken must reach an internal temperature of 165°F (74°C) to be considered safe for consumption. Use a digital meat thermometer inserted into the thickest part of the meat to verify this.
Visual and Tactile Indicators
While a thermometer is the only truly accurate method, you can look for cues: the juices should run clear, and the meat should feel firm but springy to the touch. If the chicken is still soft or “mushy,” it needs more time.
Troubleshooting Common Grill Pan Challenges
- Smoke Management: If your pan starts smoking heavily, your heat is likely too high. Lower it slightly and turn on your range hood.
- Uneven Cooking: If your stove has small burners, rotate the pan occasionally to ensure the edges get as much heat as the center.
- Preventing Sticking: If your pan isn’t non-stick, ensure it is properly seasoned with a thin layer of polymerized oil before you start.
Storage, Reheating, and Meal Prep
Leftover grilled chicken is highly versatile. Store it in an airtight container in the refrigerator for up to 3–4 days. To reheat without drying it out, add a splash of water or broth to the pan and cover it, or use the microwave on low power with a damp paper towel over the meat. Much like preparing ingredients for a Belizean curry chicken recipe, having pre-grilled protein on hand can significantly speed up your meal prep process.
Choosing the Right Grill Pan: Material and Design Considerations
Cast iron grill pans are the gold standard for heat retention, though they require more maintenance. Hard-anodized aluminum is lighter and often features a non-stick coating, making it easier to clean but potentially less durable over long-term high-heat use. Choose a size that allows you to cook in batches without overcrowding the pan, as overcrowding causes the temperature to drop and leads to steaming.
Final Verdict: Elevating Your Home Cooking
A grill pan is an essential tool for any home cook who wants the flavor of the grill without the outdoor setup. While it requires a bit of practice to master heat management, the results—tender, charred, and flavorful chicken—are well worth the effort. It is ideal for those who value convenience and consistency over the specific smokiness of charcoal.
Common Questions
The pan should be at medium-high heat. You want it hot enough to sear on contact, but not so hot that the outside burns before the inside is cooked.
Generally, no. Covering the pan traps steam, which will ruin the char and make the chicken skin or surface soggy rather than grilled.
Yes, provided your grill pan is made of a magnetic material like cast iron or magnetic stainless steel. Always check the manufacturer’s compatibility guide.
Place the chicken diagonally and cook for 3-4 minutes. Then, rotate the piece 45 degrees in the opposite direction for the final minute of that side’s cooking time.
No, you should always fully thaw chicken in the refrigerator before grilling. Grilling frozen meat leads to uneven cooking and significant food safety risks.
Frequently Asked Questions
It is better to lightly oil the chicken itself. This ensures the oil is exactly where the contact with the pan ridges happens, reducing the risk of sticking.
Use an oil with a high smoke point, such as avocado or grapeseed oil. Additionally, ensure your range hood is on high and avoid using too much oil.
Yes, but be careful not to overcook it. Because breast meat is lean, it dries out quickly; use a meat thermometer to pull it off the heat exactly at 165°F.
Clean it while it’s still warm using a stiff brush and hot water. Avoid harsh soaps if possible, dry it completely, and apply a very thin layer of oil to prevent rust.
For the best flavor, marinate for at least 2 to 4 hours. Avoid marinating for longer than 24 hours, especially with acidic ingredients, as it can change the meat texture.
The pan is likely not hot enough, or you are trying to flip the meat before it has developed a proper sear. Wait for the chicken to release naturally from the ridges.